Looking at what I’ve completed and how long it took to complete it, I started to think I needed pick up the pace. So I started the day off with installing the back of the unit (my walls are textured and I didn’t want to deal with smoothing out the walls). I cut some fiberboard to size, nailed it into place and after a little masking painted everything.
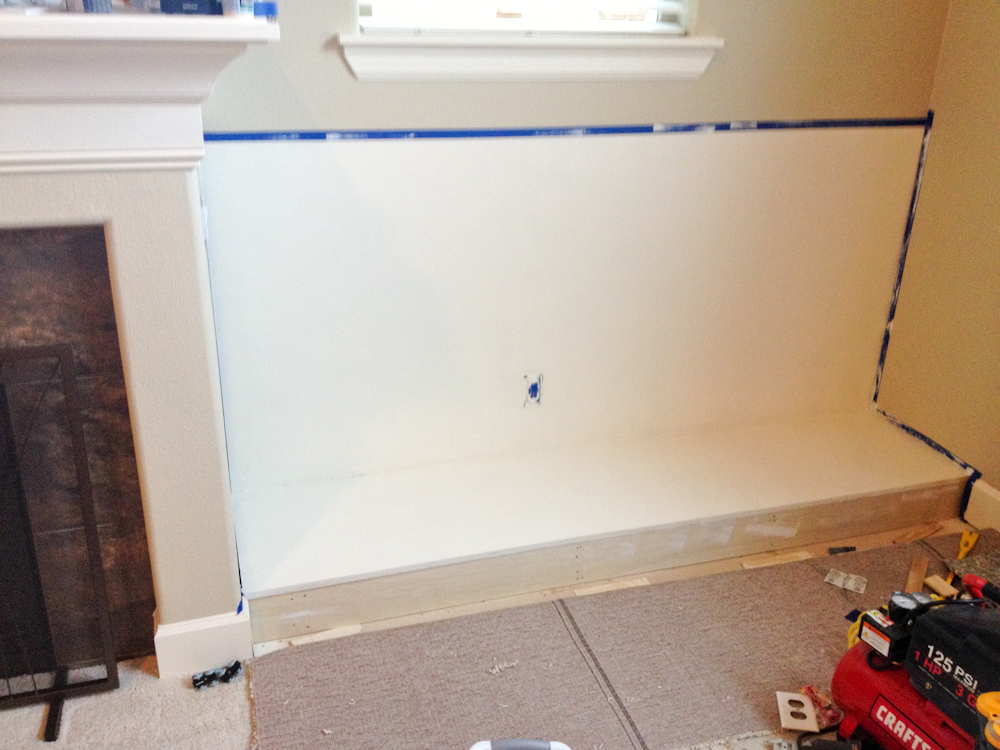
(yes, the net project I will use more than my iphone to take pics)
Seeing it all painted showed how big the piece was going to be which was scary and exciting at the same time….so far so good, now to get the shelves going.
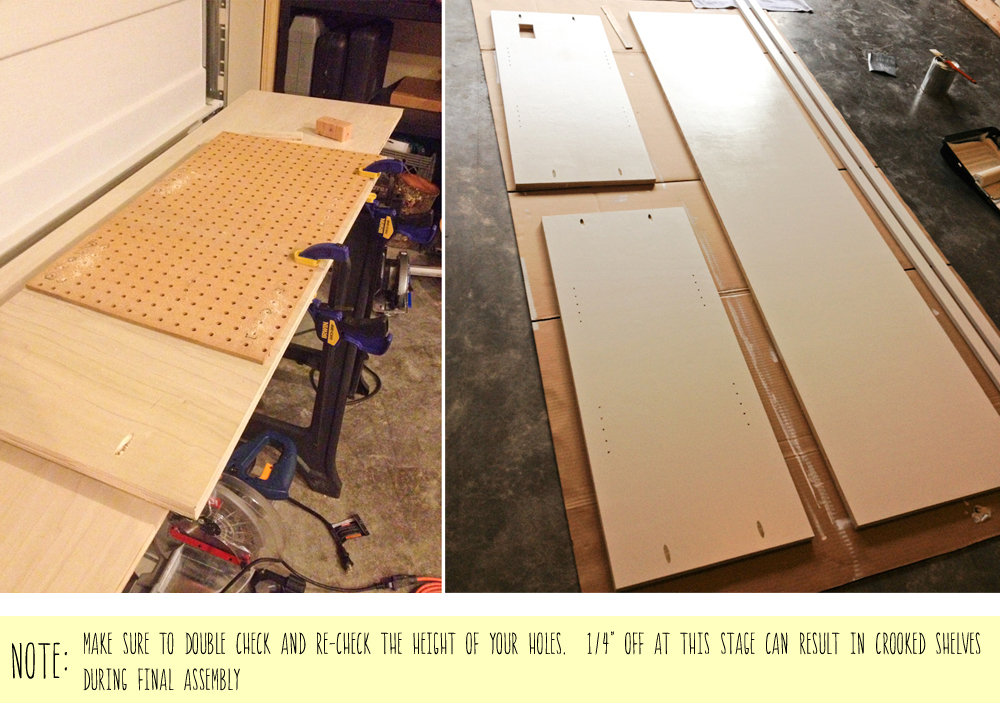
I grabbed a piece of pegboard that was laying around (because I saw a cool tip on Pinterest) and used it as a template to drill adjustable shelves. Since it isn’t realistic that someone would need to have a gazillion holes to adjust shelves, I eyeballed the height on the first one, then made sure every other one matched the height. I drilled a hole into a scrap piece of wood to use as a stop so that I didn’t drill through the entire piece of wood…super handy.
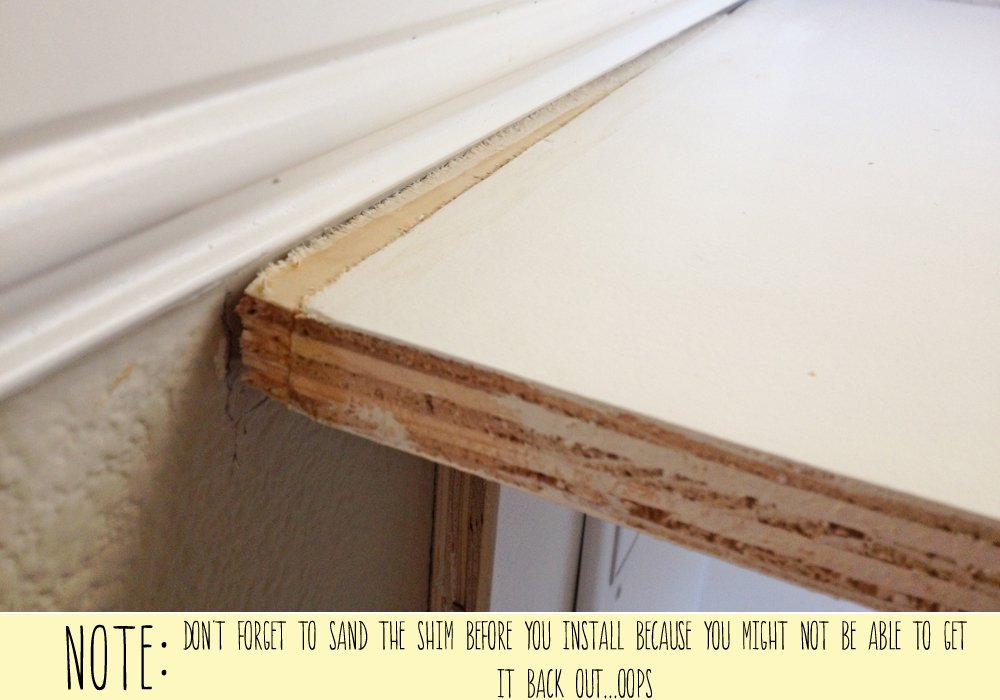
One mistake I made was assuming the walls and fireplace were square. At first I thought I was going to have to cut a new piece to compensate for the gap, but I thought I’d try to make a shim and it worked! A lot of sanding in a tight space made it look like it was never there.
Though painting is my nemesis, I didn’t want to crawl under everything once assembled to get everything painted. So far, painting and waiting for the paint to dry has taken the longest time in this project. (note to self: find a sucker friend who loves painting and have them “help” with the next project :))
Once everything was dry, it was time to get things put together so I can do another victory dance and show my kids some dance moves.
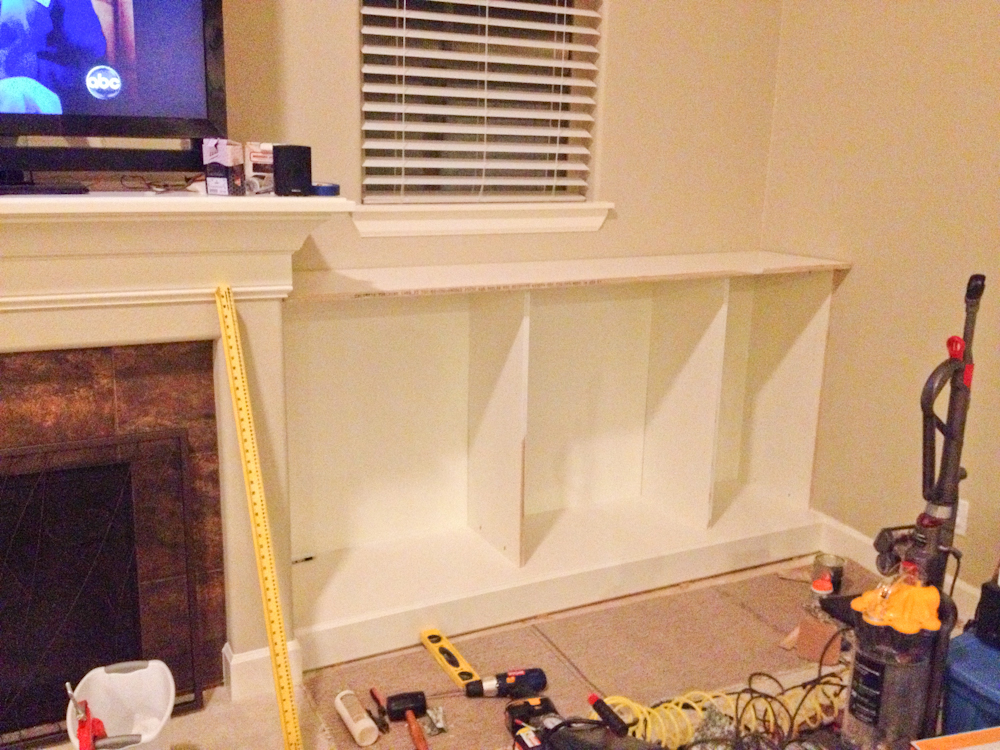
[insert victory dance and singing here]
At this point, I realized that I was leaving out my handyman so I gave him a project….sign the base so that his mark is in this house forever. I then assembled the base of the left side and (luckily) with a lot of measuring everything fit perfectly.
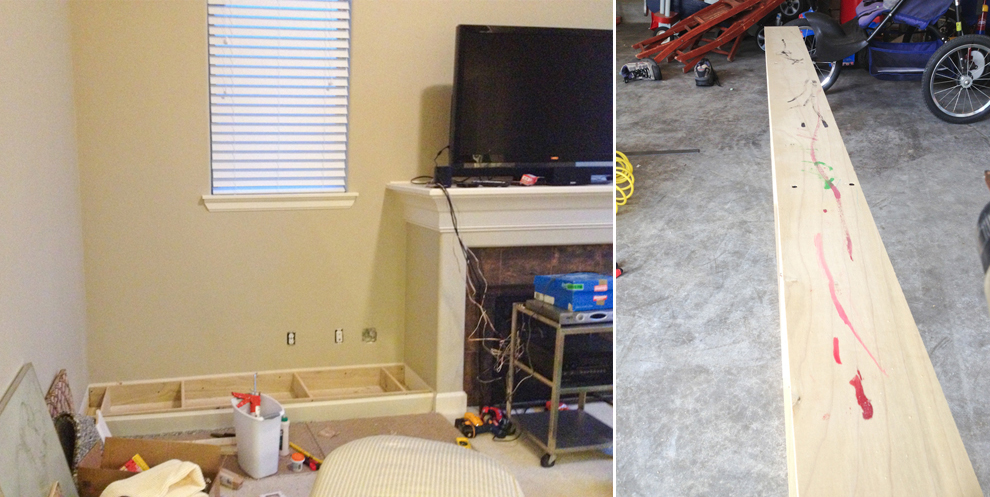
I ended the weekend with my favorite task painting the back and installing everything so I can get right into building tomorrow.
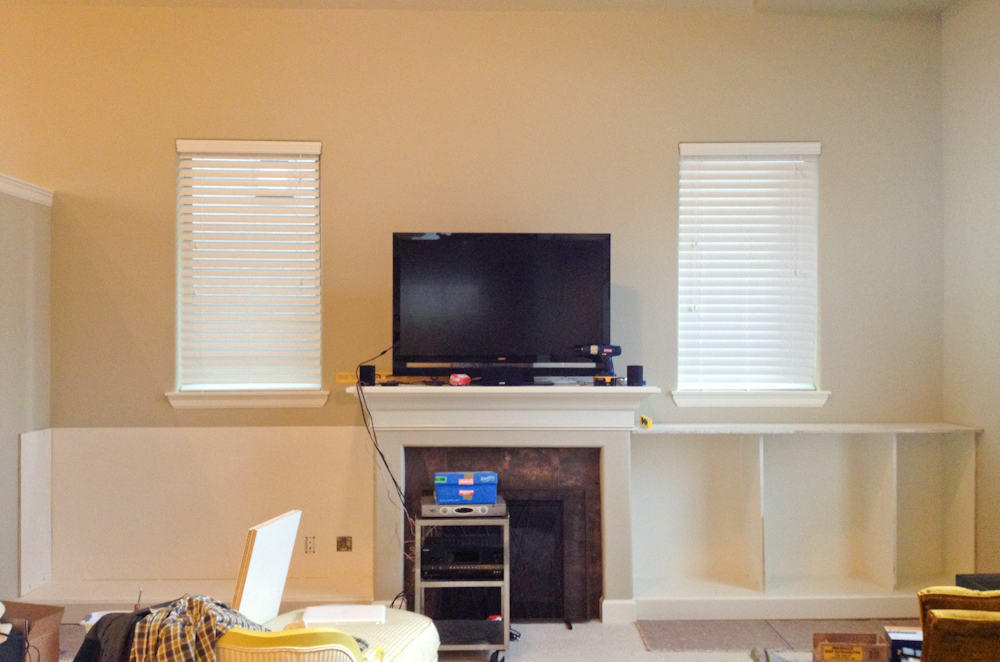
Things are starting to shape up!! I’m pumped about getting the left side built up so I can finish this guy!
