At this point it seems like it’s taken forever to get this far (because it has) but totally worth it. Even if she was just trying to make me feel better,Allegra told me how awesome it was looking and knew I could do this. 🙂
With my confidence high and learning how this all works, putting together the left side took half the time!
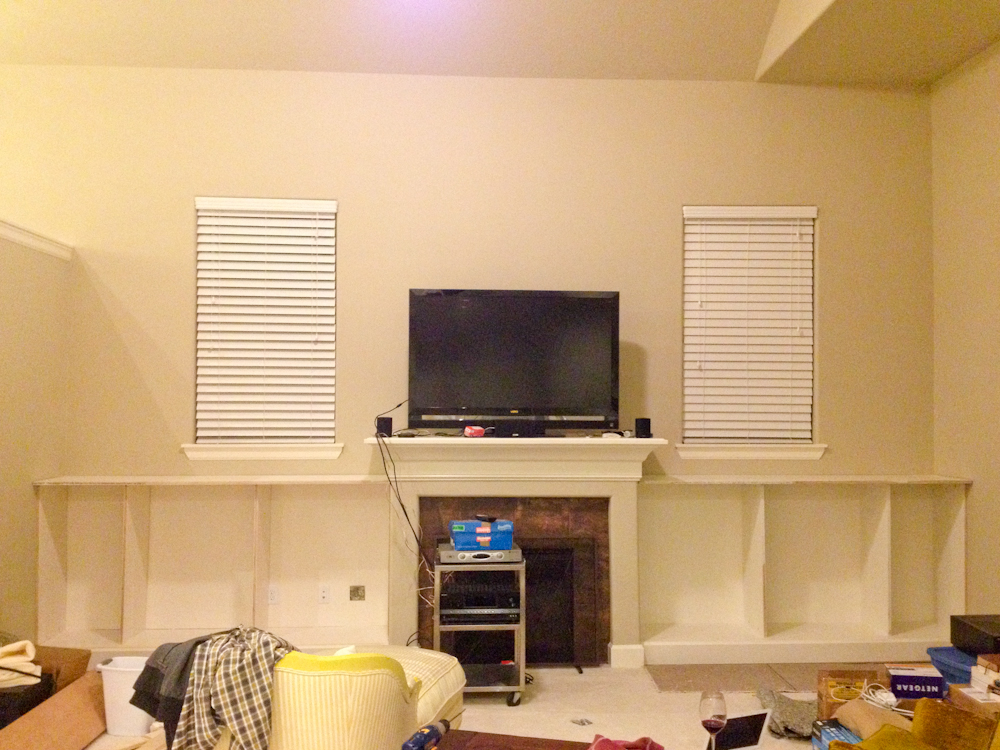
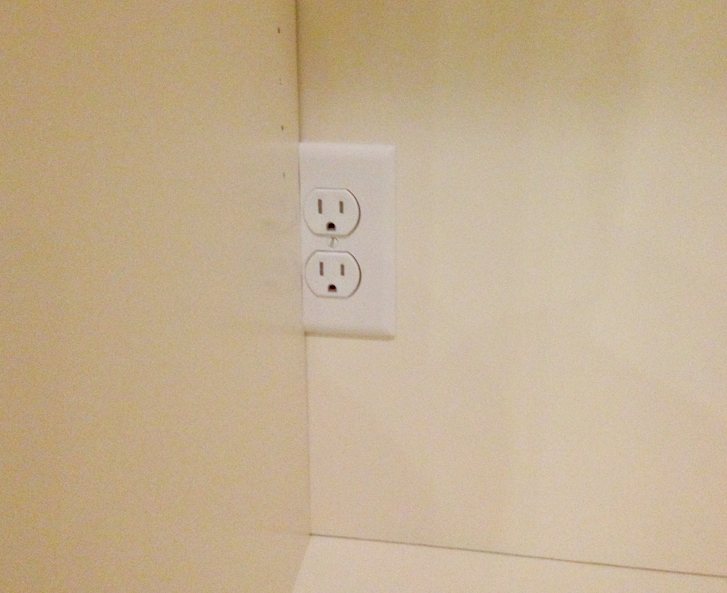
The wall on this side was more square which made things much easier! The one thing that set me back was I assumed something else…that the outlets were the same distance from the fireplace on each side. I figured since I didn’t see with the naked eye how off the walls and fireplace were before starting the project, no one would see that one of the shelves was spaced a little further apart on the left. I moved it over about 3/4″ and cut the outlet faceplate to limit how far I had to go.
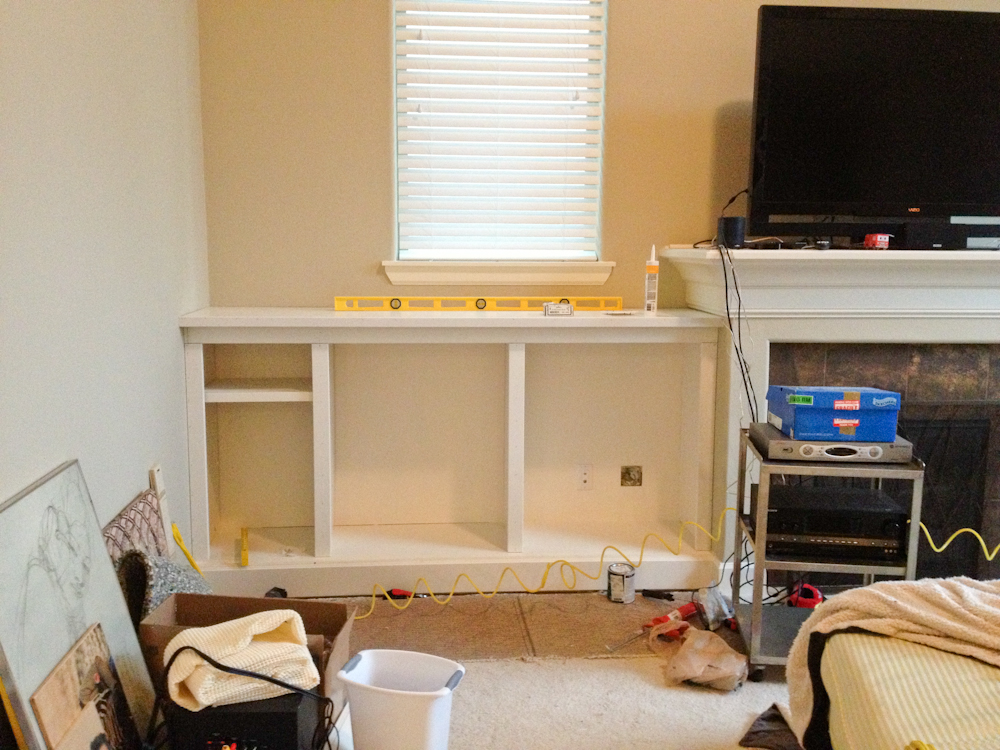
Now I was set to install the face frames! I went with MDF because it came primed with rounded edges cutting time out of the final touches. This part took no time at all and the results made a dramatic change on the way it all looked.
It was super cold outside and after spending an hour in the garage cutting and adding trim to the front of all of the shelves, I brought everything into the house to finish up.
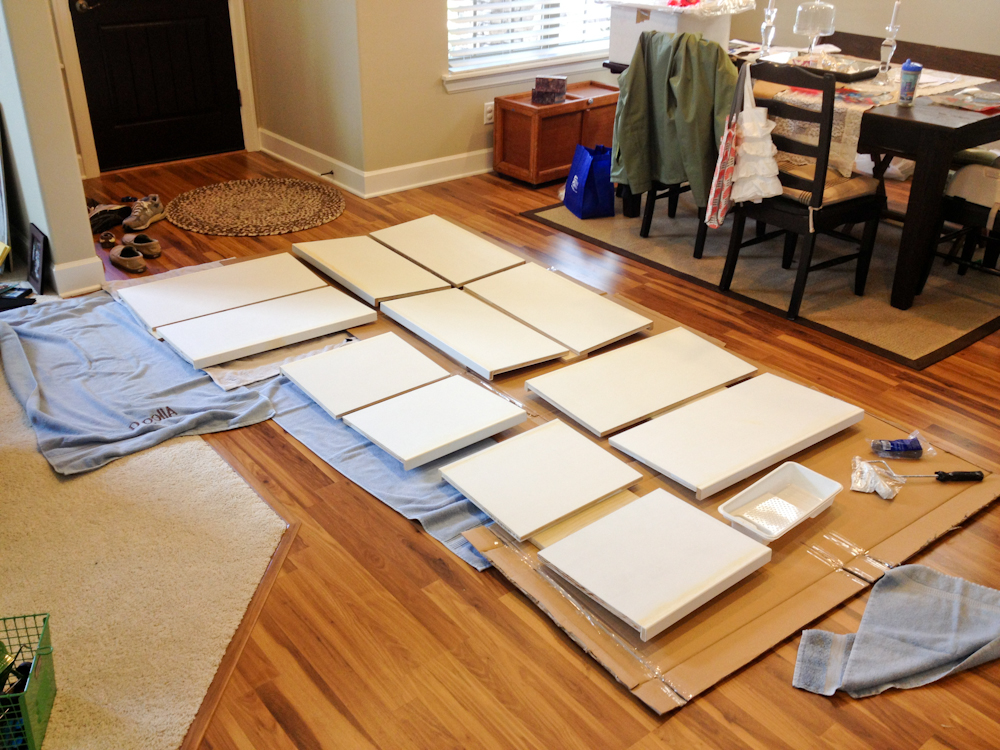
Once the shelves were dry and everything calked up, it was time to see how everything looked together. I couldn’t believe I did it! woohoo.
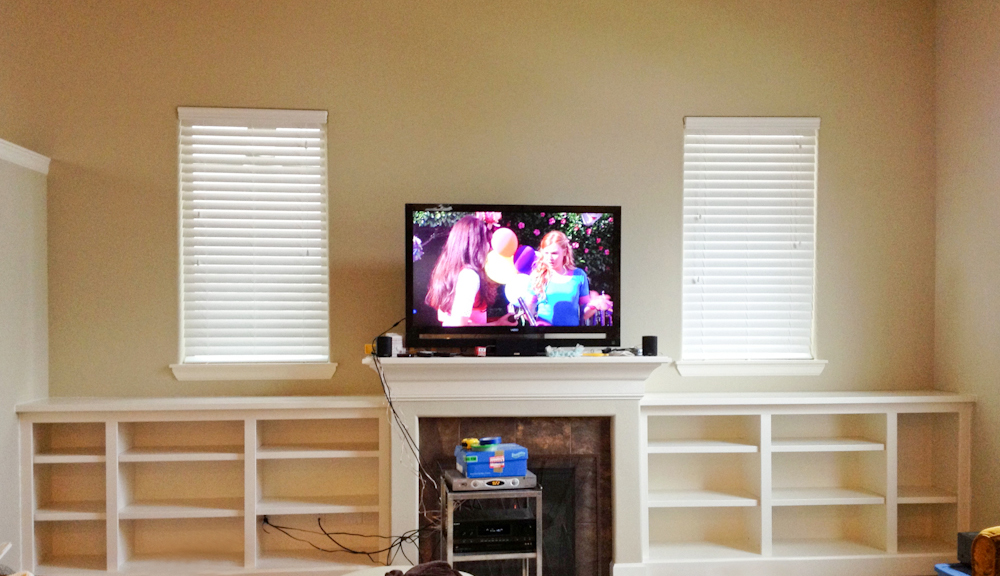
Now, I just need to feed all of the wires through the wall, re-cut the far right shelf so it fits :), a little touch up paint on the walls, call a carpet guy/gal to come out to stretch the carpet then I can unleash Allegra to beautify this thing!
